Getting started with the Live API
Note: the Flourish API is an enterprise-level bolt-on and not available to all customers.
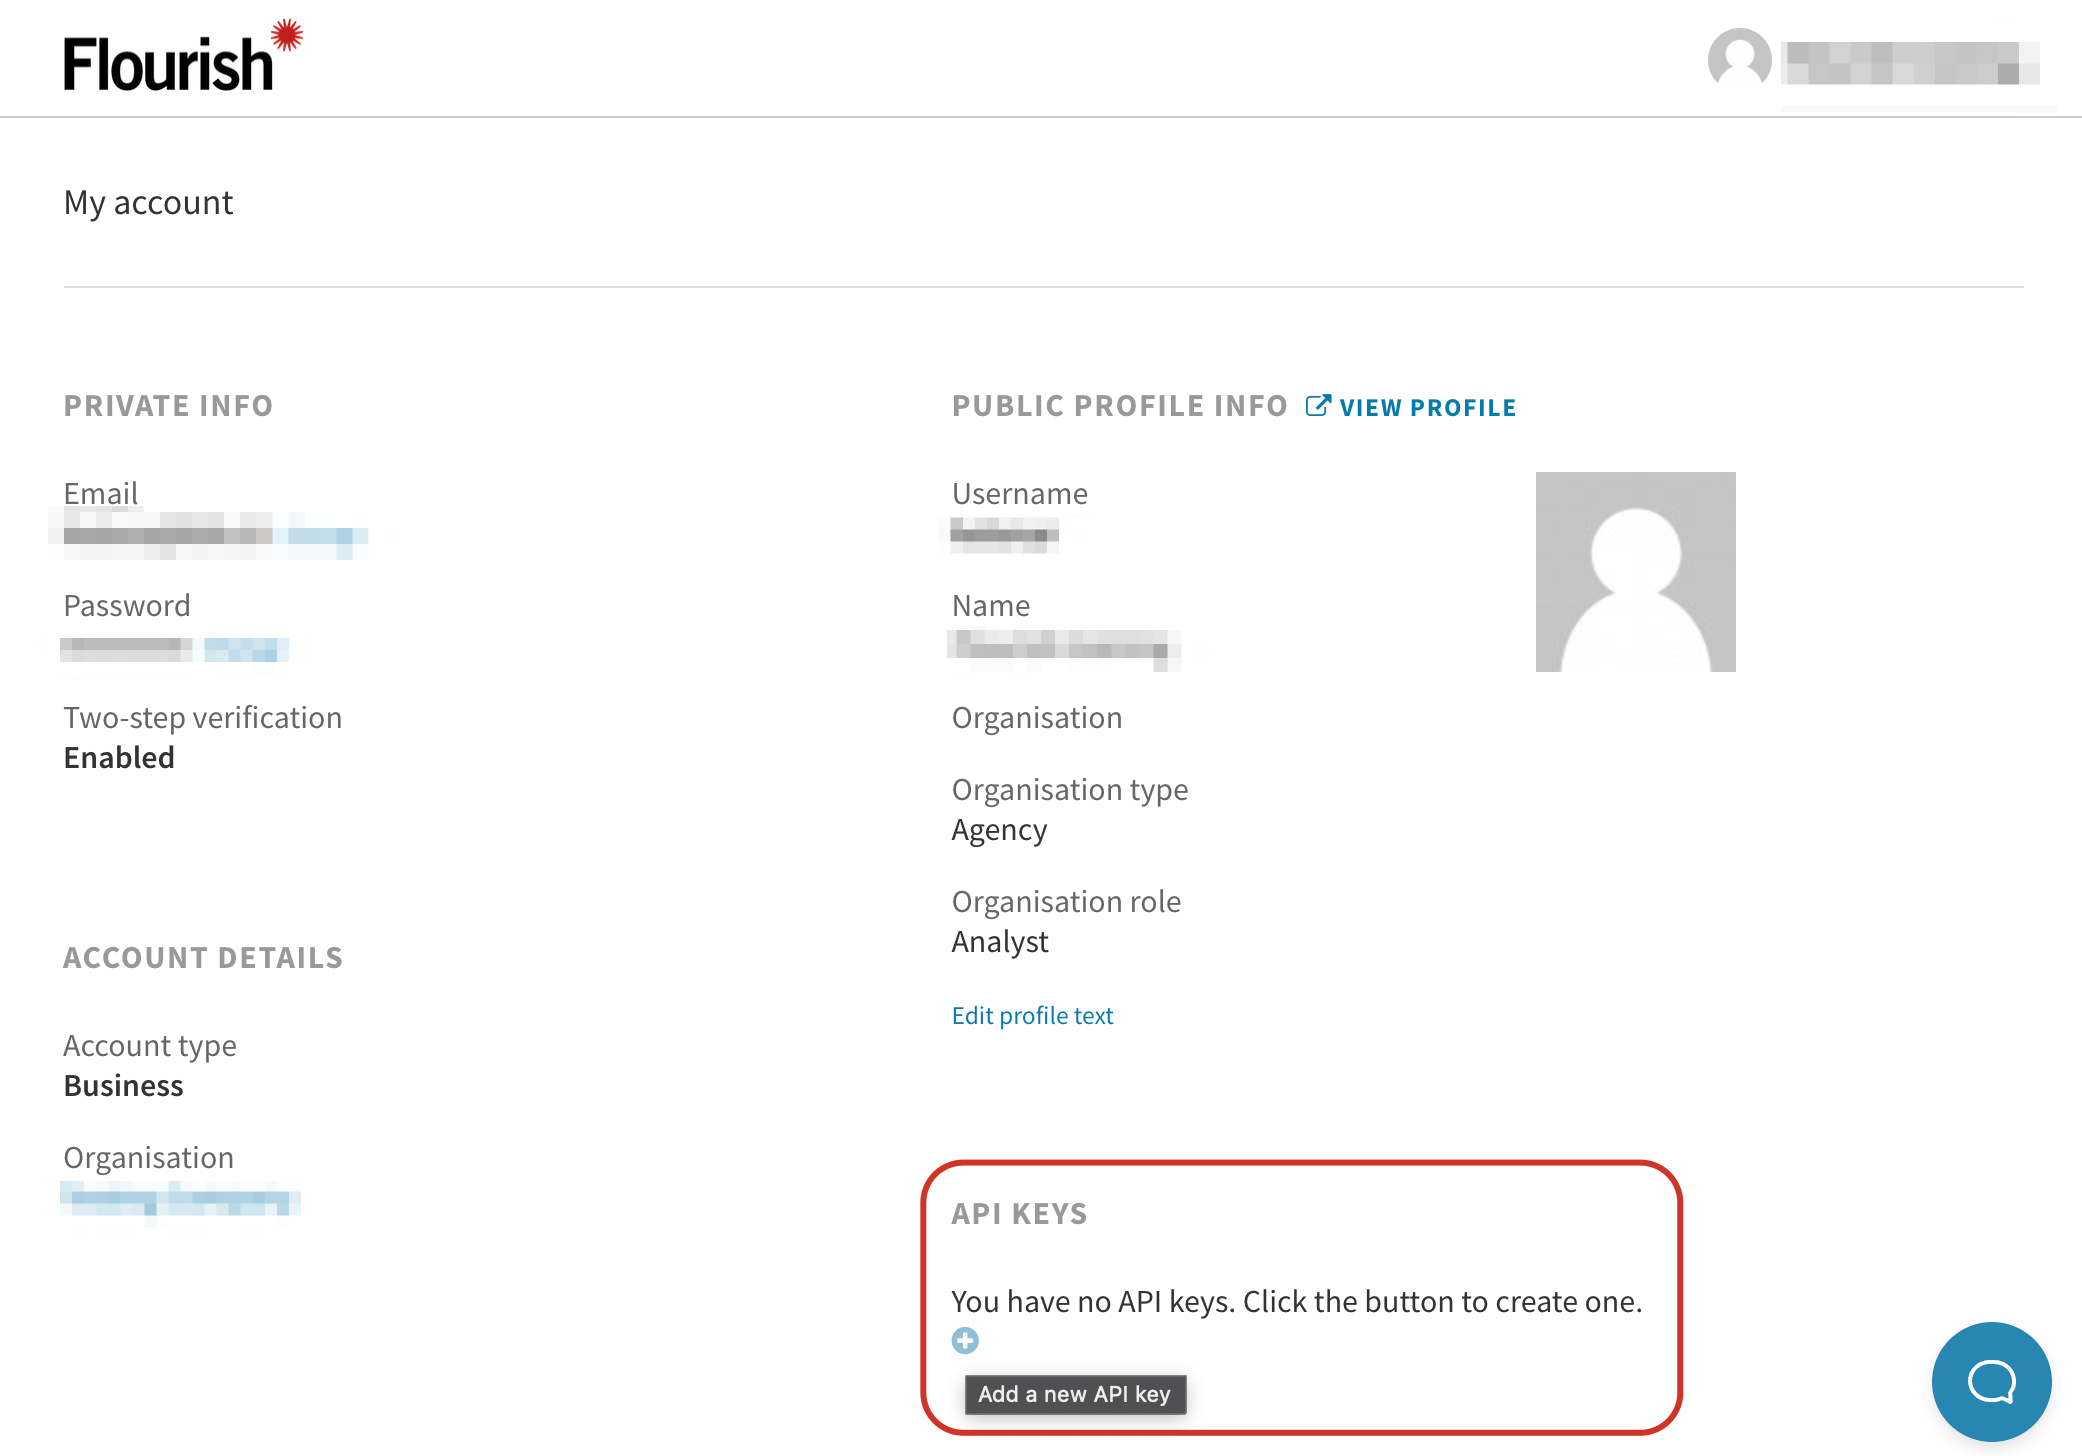
1. Get an API key
First of all, you need a Flourish API key. If you have access to the API, you can generate API keys via the My account page. Note that this is an enterprise-level bolt-on and not currently available to most customers.
2. Load the Flourish API
Install the Flourish API with npm install @flourish/live-api and import it as
import Flourish from "@flourish/live-api".
Or load it with a script tag — you can either specify the full version number in the filename, like so:
<script src="https://cdn.flourish.rocks/flourish-live-v5.4.4.min.js"></script>
Or just specify the major version number. The latter will mean your visualization will always be using the latest version of the API with that major version number, so there shouldn’t be any breaking API changes. However, only specifying the major version number also means your code will use new versions of the API automatically, without prompting you to test changes in minor patches:
<script src="https://cdn.flourish.rocks/flourish-live-v5.min.js"></script>
3. Call the API
Next you need to call the API, passing in details about the template, settings, data, etc. There are typically two ways to approach creating a visualization with the API:
- create from scratch using the configuration options
- replicate a visualization made in the app, overriding properties like data, bindings and settings, where necessary
We'll start by covering how to make a visualization from scratch.