Simple 5 minute template
Step 1: install the Flourish SDK
Follow the steps in Getting started with the SDK.
Step 2: create a new Flourish template
flourish new my_template
Step 3: run your new template in your browser
cd my_template
flourish run
Your project should now be running on localhost:1685
Step 3: open src/index.js
The default blank template structure uses rollup to bundle javascript written in a src directory. This isn't fixed but we'll stick with it for now. Open the src/index.js and you'll see the top-level Flourish structure:
- the
dataobject, that's where user-editable data tables will be stored - the
stateobject, which stores the visualization's current state - the
draw()function, which is called when the visualization loads - the
update()function, which gets called every time the data or state changes
Step 4: Add an element to the DOM
Let's add an <h1> element to our new template. In Flourish, you can add elements directly into the template's index.html file if you like, but let's use code for this example. We only want to add the element once, so we'll create it inside draw(). (Note that we also add a call to update() at the end of the draw() method to make sure the visualization is redrawn when it's first loaded.)
export function draw() {
    var h1 = document.createElement("h1");
    document.body.appendChild(h1);
    update();
}
Step 5: update the <h1> from the state
Now, we want to create a user-facing setting to set the content and color of the <h1> element we just added. To do this we first need to add some properties to the template's state:
export var state = {
    h1_content: "Hello world!",
    h1_color: "#333333"
}
Next we need to make sure the <h1> always reflects the state's values. We want this to happen every time something has changed, so we put it in update():
export function update() {
    document.querySelector("h1").innerHTML = state.h1_content;
    document.querySelector("h1").style.color = state.h1_color;
}
Step 6: add a settings for text and color
Now that we are dynamically updating the text and color of the <h1> from the state, we can easily add a setting to let the end user change them. To do this, open template.yml and look for the settings block:
settings:
  - property: h1_content
    name: Title
    type: string
  - property: h1_color
    name: Title color
    type: color
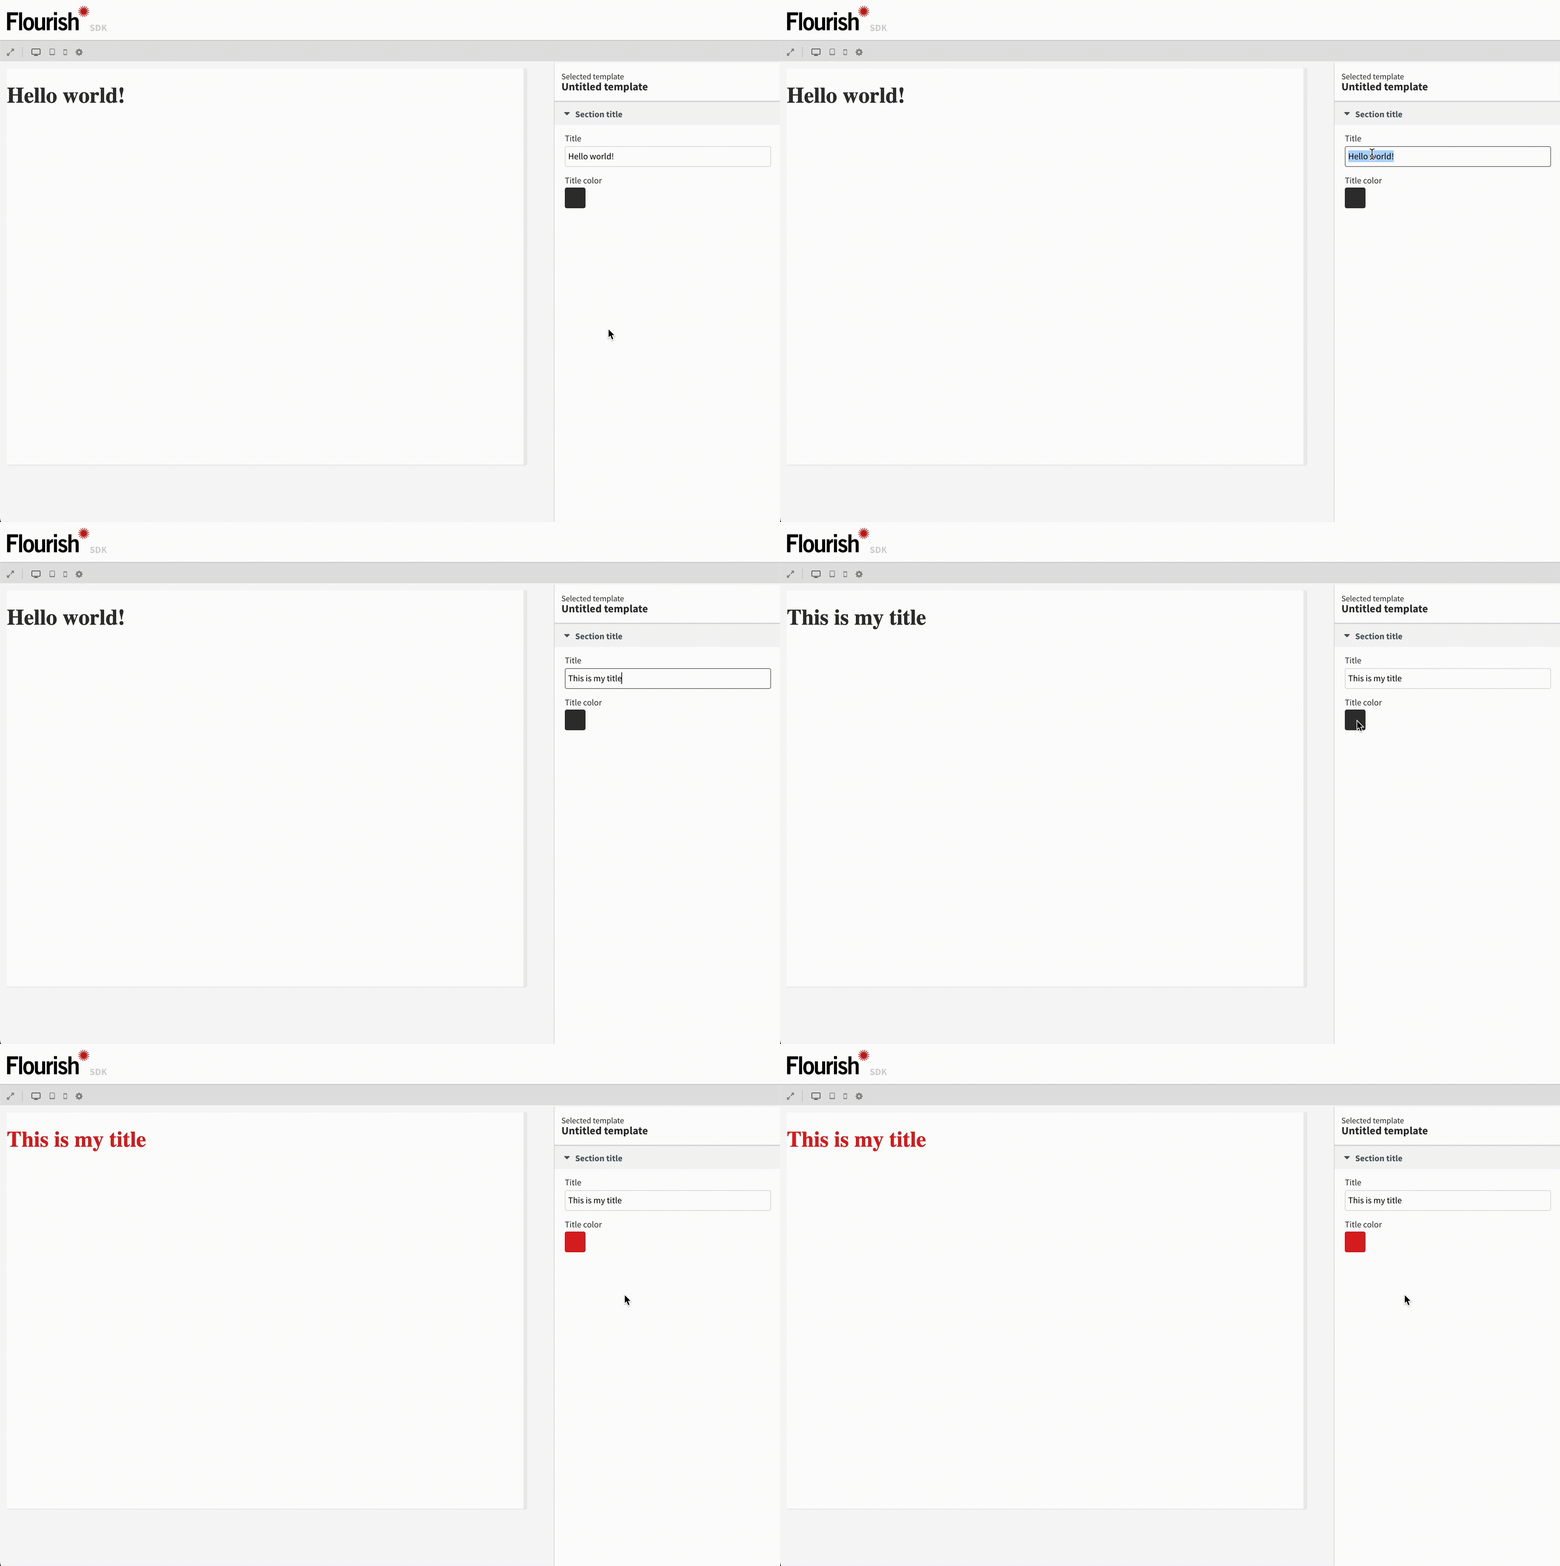
If you go to your template preview, you should now see some settings in the panel on the right. Change them to make sure they work.

Step 7: publish your template
You can now publish your template to Flourish, so that other people can use it. To publish your template, you’ll first need to register (flourish register) or log in (flourish login). You can find more information about publishing to Flourish here.
flourish publish
